Solar-powered garden lights are an excellent way to illuminate your outdoor space while conserving energy and reducing electricity costs. These eco-friendly lights harness the sun’s power during the day and provide beautiful illumination at night. Installing solar-powered garden lights is a straightforward DIY project that can enhance the ambiance of your garden, improve safety, and highlight your landscaping features. Here’s a step-by-step guide to help you get started.
1. Choosing the Right Solar-Powered Garden Lights
Before installation, select the solar lights that best suit your needs and garden design. Consider the following types:
- Pathway Lights: Ideal for lining walkways and driveways, providing a clear path and enhancing safety.
- Spotlights: Used to highlight specific features such as trees, statues, or architectural elements.
- String Lights: Perfect for creating a festive atmosphere or adding a warm glow to patios and garden spaces.
- Floodlights: Provide broad illumination for larger areas or to deter intruders.
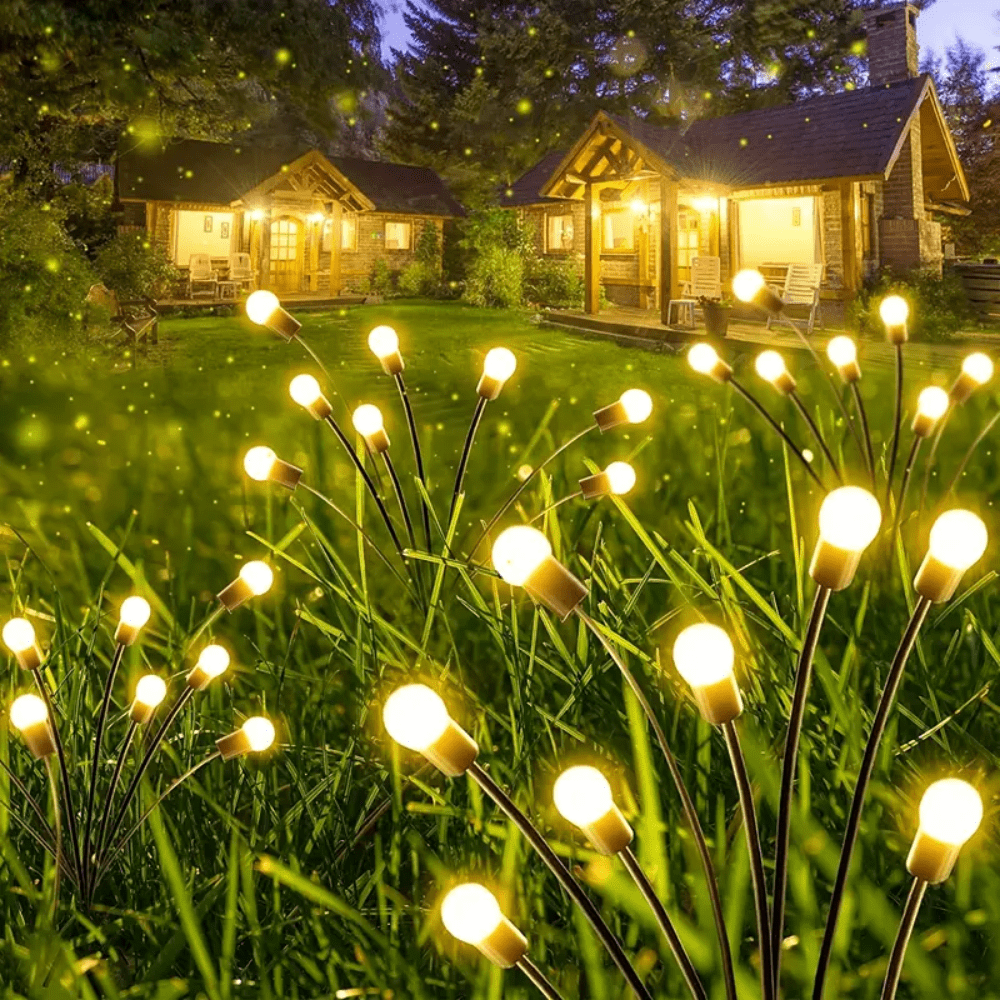
- Decorative Lights: Include lanterns, sconces, or fairy lights that add charm and personality to your garden.
2. Preparing for Installation
Location Selection:
- Sunlight Exposure: Choose locations that receive direct sunlight for at least 6-8 hours a day. Solar panels need adequate sunlight to charge fully.
- Visibility: Place lights where they will be effective, such as along pathways, near garden features, or in areas where additional light is needed.
- Safety: Ensure that lights are installed away from high-traffic areas where they might be accidentally damaged.
Gather Materials:
- Solar-powered garden lights
- A shovel or garden trowel (for lights that need to be staked into the ground)
- Measuring tape
- Level (for ensuring lights are aligned properly)
3. Installing Solar-Powered Garden Lights
Steps for Installation:
- Assemble the Lights:
- Follow the manufacturer’s instructions to assemble the solar lights if they come in separate parts. This may include attaching stakes, assembling light heads, or inserting batteries.
- Determine Placement:
- Use a measuring tape to mark the desired locations for your lights. Ensure that each light is spaced evenly and aligns with your design plan.
- For pathway lights, place them about 6-8 feet apart to ensure consistent illumination.
- Prepare the Ground:
- If you’re installing stake lights, use a shovel or garden trowel to create small holes for the stakes. Ensure the holes are deep enough to secure the stakes firmly.
- For lights with bases or stands, ensure the ground is level and firm. You may need to use additional supports if the ground is too soft.
- Install the Lights:
- Insert the stakes into the holes, making sure they are securely anchored. For lights with bases, position them on the ground and use the provided screws or anchors to stabilize them if necessary.
- Adjust the angle of the solar panels to face the sun. Most solar lights have adjustable panels or heads that can be tilted for optimal sunlight exposure.
- Test the Lights:
- Turn on the lights to ensure they are working properly. Some solar lights have a switch to activate the light, while others may automatically turn on at dusk.
4. Maintaining Solar-Powered Garden Lights
Cleaning:
- Solar Panels: Periodically clean the solar panels with a soft cloth to remove dirt and debris that can block sunlight. Avoid using harsh chemicals or abrasive materials.
- Lights and Fixtures: Wipe down the light fixtures with a damp cloth to remove dust and dirt. Ensure that no water gets into the electrical components.
Battery Care:
- Replacement: Solar lights typically use rechargeable batteries. Check the manufacturer’s instructions for battery replacement intervals and types. Commonly used batteries are NiMH (Nickel-Metal Hydride) or Li-ion (Lithium-ion).
- Storage: During winter or extended periods of inactivity, store the lights in a dry, sheltered location to prolong battery life.
Troubleshooting:
- Dim or Non-Functioning Lights: If lights are dim or not working, check the solar panel for obstructions or dirt. Ensure the batteries are charged and replace them if necessary.
- Positioning Issues: If lights are not illuminating as expected, adjust the angle of the solar panels or reposition the lights for better sunlight exposure.
5. Enhancing Your Garden with Solar Lights
Creative Placement Ideas:
- Highlight Garden Features: Use spotlights or floodlights to accentuate trees, sculptures, or water features.
- Define Spaces: Install pathway lights to create defined walkways and improve safety.
- Create Ambiance: String lights or decorative lanterns can add a cozy and inviting atmosphere to outdoor seating areas and patios.
Seasonal Adjustments:
- Winter Care: In colder climates, remove solar lights during heavy snowfall to prevent damage. Clean and store them until the weather warms up.
- Holiday Decorating: Incorporate solar-powered lights into holiday decorations for an eco-friendly and festive touch.
Conclusion
Installing solar-powered garden lights is a simple yet effective way to enhance your outdoor space. By choosing the right lights, preparing your garden, and following these installation and maintenance tips, you can enjoy beautiful, energy-efficient illumination throughout the year. Whether you’re looking to brighten up pathways, highlight garden features, or create a magical atmosphere, solar-powered lights offer a sustainable and stylish solution for your garden lighting needs. Enjoy the benefits of easy installation, minimal maintenance, and environmentally friendly lighting as you transform your outdoor space into a well-lit, inviting haven.