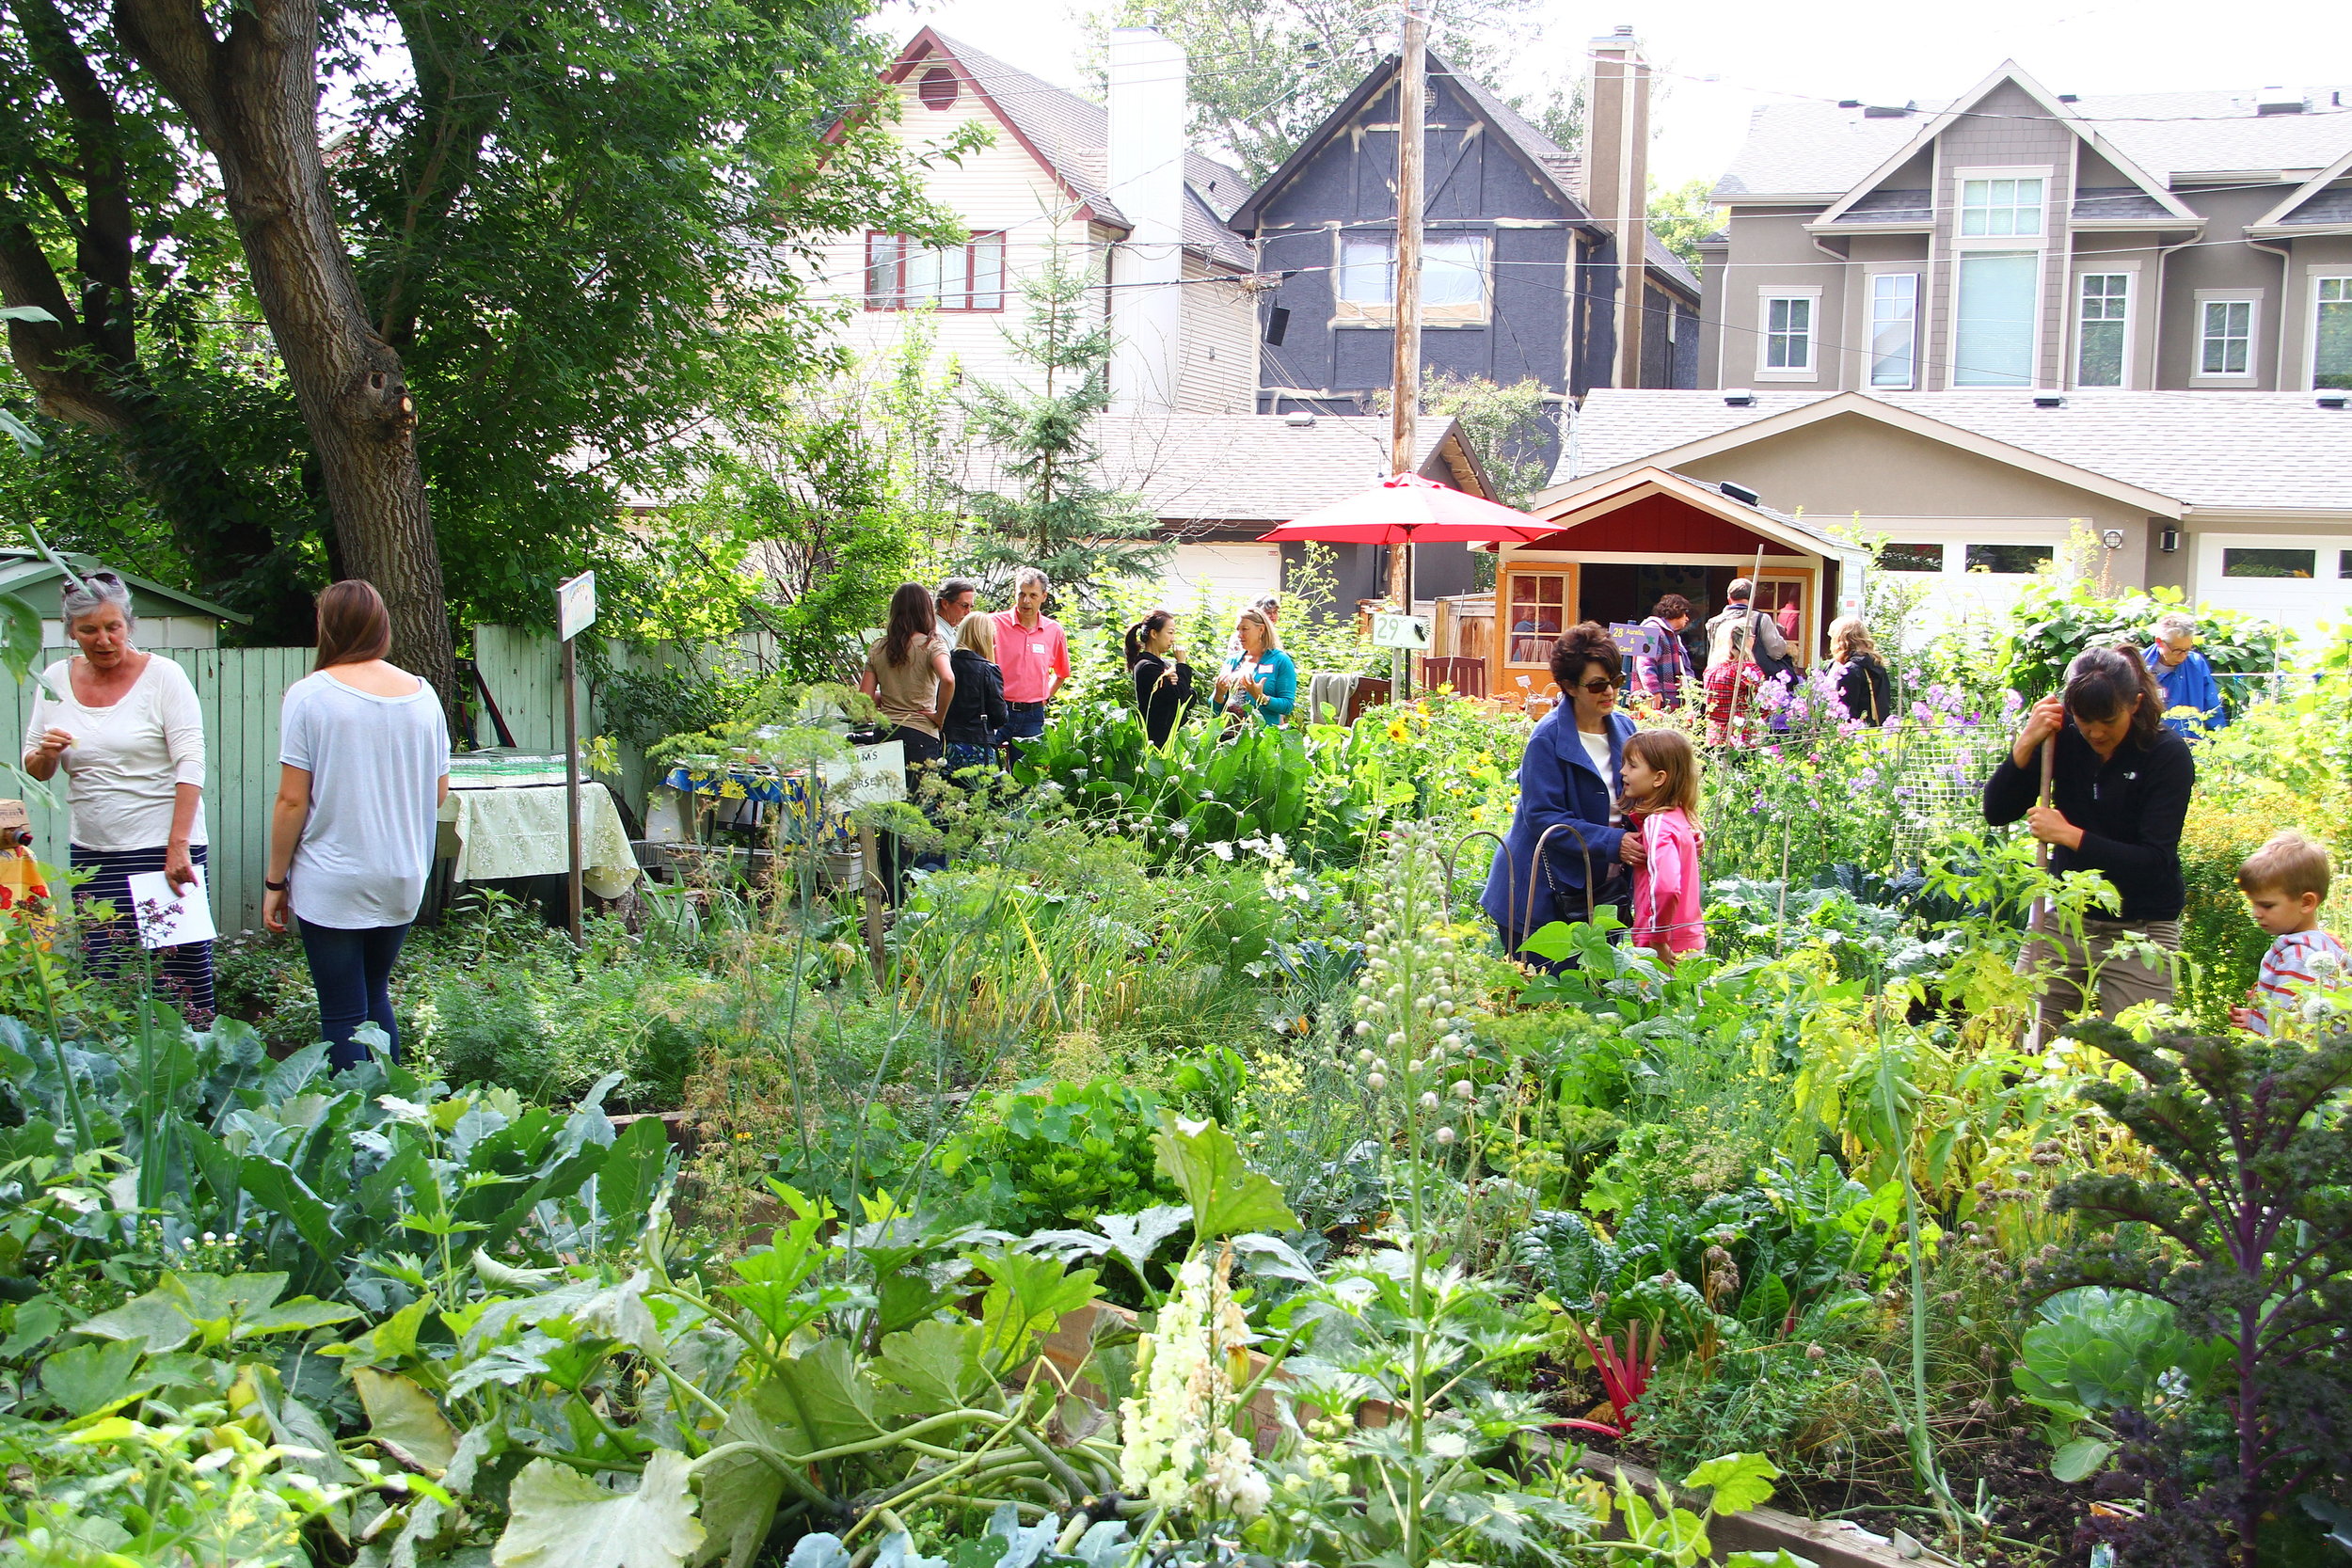
Starting a community garden in your neighborhood is a fantastic way to bring people together, promote sustainability, and create a shared space where everyone can enjoy the benefits of gardening. Whether your goal is to grow fresh produce, beautify your surroundings, or foster a sense of community, a well-planned garden can become a cherished part of your neighborhood. Here’s a step-by-step guide to help you get started.
Step 1: Gauge Interest and Form a Planning Committee
Before you start digging, it’s essential to assess the level of interest in your neighborhood. Talk to your neighbors, post flyers, and hold a meeting to discuss the idea of a community garden. Use this opportunity to gather ideas, address concerns, and recruit volunteers.
Form a Planning Committee: If there’s sufficient interest, form a planning committee. This group will take charge of organizing the garden, making decisions, and dividing responsibilities. It’s helpful to have a diverse group with different skills, such as gardening, project management, fundraising, and communications.
Step 2: Find a Suitable Location
The success of your community garden largely depends on finding the right location. The ideal site should have the following characteristics:
- Sunlight: Choose a spot that receives at least 6-8 hours of sunlight daily, as most vegetables and flowers require ample sunlight to thrive.
- Access to Water: Ensure there’s a nearby water source. If the site doesn’t have water access, you’ll need to consider alternative solutions like rain barrels or hauling water.
- Soil Quality: The soil should be tested for contaminants, particularly if the site was previously used for industrial or commercial purposes. You can also improve soil quality with compost and other amendments.
- Accessibility: The garden should be easily accessible to all participants, including those with mobility issues. Consider proximity to public transportation, parking, and paths that are wide enough for wheelchairs.
- Ownership: Determine who owns the land and obtain permission to use it. You may need to negotiate a lease or a long-term agreement with the landowner, which could be a local government, a school, a church, or a private owner.
Step 3: Develop a Garden Plan
Once you have a location, work with your planning committee to create a garden plan. This plan should include:
- Garden Layout: Decide on the layout of the garden beds, pathways, composting areas, and communal spaces. Consider different bed styles, such as raised beds, in-ground beds, or containers, depending on your site’s conditions.
- Plant Selection: Choose a mix of plants that will thrive in your climate and suit the needs of the gardeners. Include a variety of vegetables, herbs, flowers, and possibly fruiting shrubs or trees. Encourage diversity to attract beneficial insects and promote healthy ecosystems.
- Watering System: Plan an efficient watering system, whether it’s drip irrigation, soaker hoses, or simple watering cans. Designate responsibilities for watering if necessary.
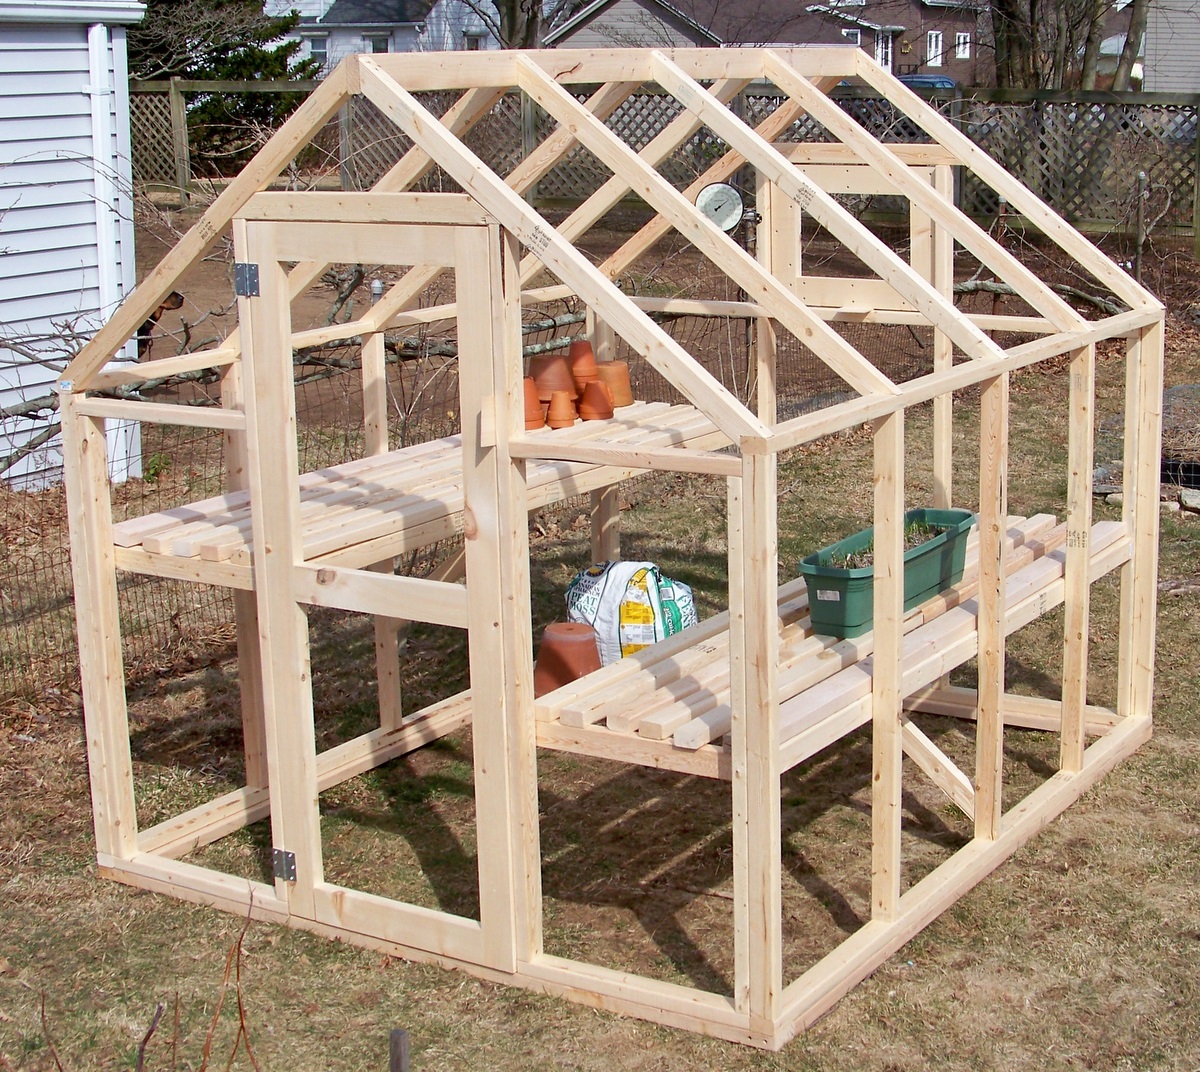
- Tools and Storage: Consider what tools will be needed and where they will be stored. A shared tool shed or a designated area for storing supplies can help keep the garden organized.
- Composting: Set up a composting system to recycle garden waste and create nutrient-rich soil. Educate participants on what can and cannot be composted.
- Signage and Fencing: Plan for signs to label different areas, beds, or plants, and consider whether a fence is needed to protect the garden from animals or vandalism.
Step 4: Secure Funding and Resources
Starting a community garden often requires some initial investment, whether it’s for tools, seeds, soil, or infrastructure. Explore various funding options:
- Grants: Look for grants from local governments, nonprofits, or agricultural organizations that support community gardening projects.
- Fundraisers: Organize fundraisers like bake sales, car washes, or community events to raise money.
- Donations: Reach out to local businesses, garden centers, and hardware stores for donations of tools, seeds, soil, or other supplies. Residents might also contribute materials or funds.
- Membership Fees: Some community gardens charge a small fee for participants, which can help cover ongoing costs like water or maintenance.
Step 5: Prepare the Site and Start Planting
With your plan in place and resources secured, it’s time to prepare the site and start planting:
- Site Preparation: Clear the area of debris, weeds, and grass. You may need to till the soil, add compost, or build raised beds.
- Build Infrastructure: Install any necessary structures, such as fences, garden beds, paths, and irrigation systems.
- Planting Day: Organize a community planting day where everyone comes together to plant seeds and seedlings. This is a great opportunity to bond and get everyone excited about the project.
Step 6: Establish Garden Rules and Responsibilities
To ensure the garden runs smoothly, establish clear rules and guidelines:
- Plot Assignments: If the garden is divided into individual plots, decide how they will be assigned. Some gardens use a lottery system, while others allocate based on a first-come, first-served basis.
- Maintenance Schedule: Create a schedule for shared responsibilities, such as watering, weeding, and composting. Make sure everyone knows what’s expected of them.
- Garden Etiquette: Set rules for behavior in the garden, such as respecting others’ plots, not using chemical pesticides, and cleaning up after oneself.
- Conflict Resolution: Establish a process for resolving conflicts, whether it’s through the planning committee or a designated mediator.
Step 7: Engage the Community and Grow Together
A successful community garden is about more than just growing plants—it’s about growing a community. Keep participants engaged and invested in the garden’s success:
- Workshops and Events: Host gardening workshops, potlucks, or seasonal celebrations to bring people together and share knowledge.
- Communication: Use social media, newsletters, or bulletin boards to keep everyone informed about garden news, upcoming events, and important announcements.
- Partnerships: Partner with local schools, community centers, or food banks to expand the garden’s impact. For example, you could donate excess produce to those in need or start an educational program for children.
- Celebrate Successes: Acknowledge milestones, such as the first harvest or the installation of new infrastructure, to keep the community motivated and proud of their achievements.


Leave a Reply